When working with tailor chalk for fabric marking, it’s not uncommon to encounter stains. Understanding how to remove tailor chalk stains effectively can save your favorite garments from potential damage. This article provides easy tips for tailor chalk removal and fabric care to keep your projects looking pristine.
Understanding Tailor Chalk
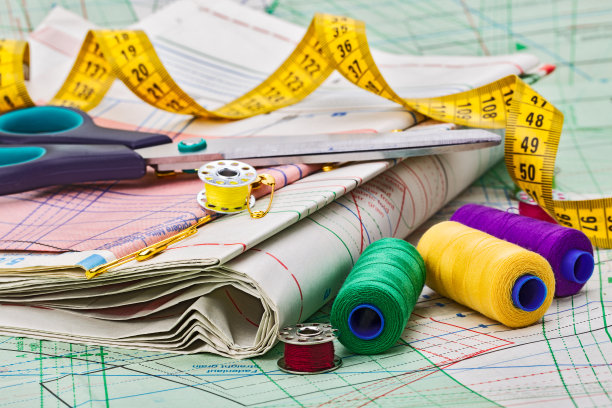
Tailor chalk is a popular tool among seamstresses and tailors for its ease of use and precision in marking fabrics. Available in a variety of colors, it helps to create clear lines for cutting and sewing. However, its removal can sometimes be tricky, especially if stains are allowed to set in.
Why Remove Tailor Chalk Stains?
Before we delve into the methods of removal, it’s essential to understand why you should address tailor chalk stains promptly. Not only can these stains detract from the appearance of your fabric, but they can also become more challenging to remove if not treated quickly. Additionally, leaving chalk marks on fabric can interfere with the final look of your garment.
Easy Tips for Removing Tailor Chalk Stains
1. Check Fabric Care Labels
Before attempting any removal technique, always check the fabric care label. Different fabrics require different approaches, and some may be more sensitive to certain cleaning methods.
2. Use a Dry Brush
For fresh chalk marks, a dry brush can be quite effective. Gently brush the fabric with a soft-bristled brush to lift the chalk particles. This method is particularly useful for delicate fabrics where wet cleaning might cause damage.
3. Damp Cloth Method
For stubborn stains, dampening a clean cloth with water can help. Gently blot the area, avoiding rubbing, which can push the chalk deeper into the fibers. This method works well for cotton and polyester fabrics.
4. Use Stain Removers
If the chalk marks persist, consider using a commercial stain remover. Apply the product according to the instructions, and test it on a small, inconspicuous area first to ensure it doesn’t affect the fabric color.
5. Wash as Usual
After treating the stain, launder the fabric as you normally would. Make sure to follow the washing instructions on the care label. If the stain remains after washing, avoid drying the fabric in a dryer, as heat can set the stain.
6. Repeat if Necessary
Sometimes, stubborn stains may require multiple treatments. Don’t hesitate to repeat the cleaning process if necessary until the chalk is completely removed.
Additional Fabric Care Tips
- Test Before You Mark: Always test your tailor chalk on a scrap piece of fabric to see how it reacts.
- Store Properly: Keep your tailor chalk in a cool, dry place to prevent it from breaking down or becoming harder to remove.
- Avoid Overuse: Use tailor chalk sparingly to minimize the chances of stains.
Conclusion
Knowing how to remove tailor chalk stains is essential for any tailor or DIY enthusiast who values their fabric. By following these easy tips for tailor chalk removal, you can keep your fabrics looking clean and well cared for. Remember that prompt action is key to effective stain removal, so don’t delay in treating any marks.