Using tailor chalk is an essential skill in the world of sewing. Whether you’re a beginner or a seasoned professional, understanding how to use tailor chalk for sewing will enhance your fabric marking precision and improve your overall tailoring results. This guide will walk you through the steps and tips to effectively apply tailor chalk in your sewing projects.
What is Tailor Chalk?
Tailor chalk, often referred to as sewing chalk, is a specialized tool used for marking fabrics. Available in various forms—pencils, bars, or wheels—this chalk is designed to make temporary marks that can be easily removed or brushed away after sewing. Using the right tailoring tools, including tailor chalk, can make a significant difference in the accuracy of your adjustments and designs.
Why Use Tailor Chalk for Sewing?
Using tailor chalk for sewing offers several advantages:
- Precision: It allows for accurate measurements and markings on fabric.
- Versatility: Suitable for various fabric types, including delicate materials.
- Ease of Removal: Most tailor chalk marks can be erased easily without damaging the fabric.
Step-by-Step Guide on How to Use Tailor Chalk for Sewing
Step 1: Gather Your Materials
Before you start, ensure you have the following materials ready:
- Tailor chalk (choose the type that suits your fabric best)
- A ruler or measuring tape
- Fabric scissors
- A fabric marker or pen (optional for comparison)
- A straight edge or French curve (for curved lines)
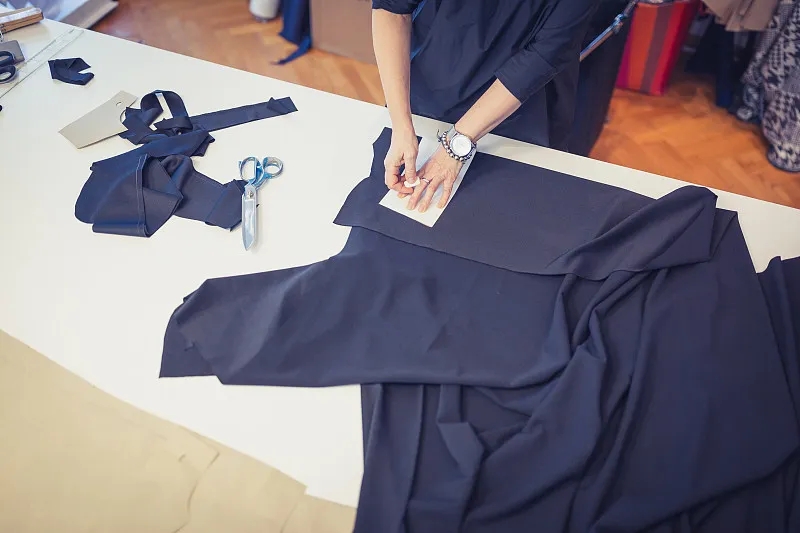
Step 2: Prepare Your Fabric
Make sure your fabric is clean and pressed. Wrinkles can distort your measurements and lead to inaccurate markings. Lay your fabric flat on a clean surface to begin.
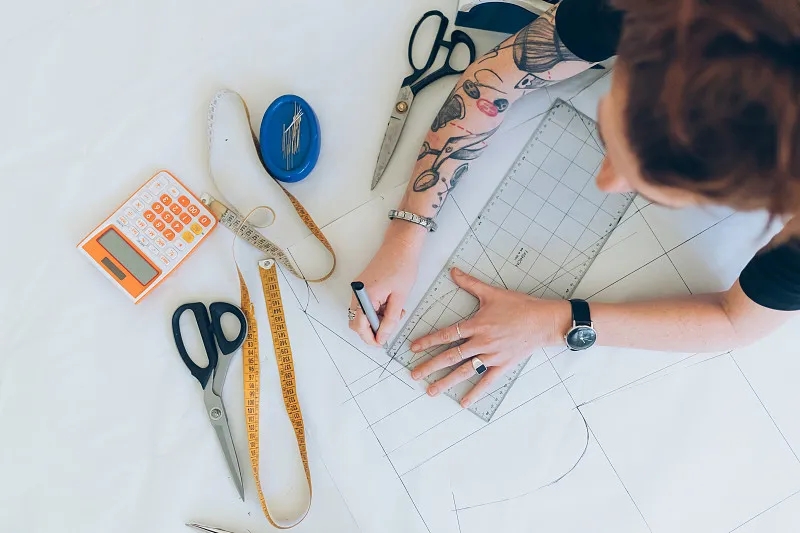
Step 3: Measure and Mark
Using your measuring tape or ruler, determine where you need to make your markings. Use tailor chalk to lightly draw lines or dots where necessary. Here are some tips:
- For Straight Lines: Use a ruler to guide your chalk for precise lines.
- For Curved Lines: A French curve can help create smooth, accurate curves.
Step 4: Check Your Marks
Before proceeding with cutting or sewing, double-check your chalk markings. Ensure they align with your desired measurements. This step is crucial for achieving accurate adjustments.
Step 5: Cut or Sew
Once you’re satisfied with your markings, you can proceed to cut or sew the fabric. Your tailor chalk lines will guide you throughout the process.
Step 6: Remove Chalk Marks
After completing your sewing project, remove any remaining chalk marks. Most tailor chalk can be brushed off or washed away. Always test a small area first to ensure your fabric remains intact.

Additional Tips for Using Tailor Chalk
- Choose the Right Color: Select a chalk color that contrasts well with your fabric for better visibility.
- Test on Scrap Fabric: If you’re unsure about how the chalk will interact with your fabric, test it on a scrap piece first.
- Keep a Steady Hand: Practice your marking technique to improve accuracy and confidence.
Conclusion
In conclusion, learning how to use tailor chalk for sewing is an invaluable skill that enhances your sewing experience. This simple yet effective tailoring tool can help you achieve perfect lines and accurate adjustments. By following the steps outlined in this guide, you’ll be well on your way to mastering the art of fabric marking.